Premium Whiskey Realistic Vector Product: Elevating Your Alcohol Brand Identity
In the competitive landscape of alcohol marketing, visual authenticity is not just a preference; it is a necessity. When you are looking to showcase a Premium Whiskey Realistic Vector Product, you are dealing with more than just an image. You are presenting a lifestyle, a heritage, and a promise of quality that must be communicated instantly to your audience. The market is flooded with generic graphics, but discerning brands know that the difference between a forgettable advertisement and a memorable campaign often lies in the precision of the mock-up design.
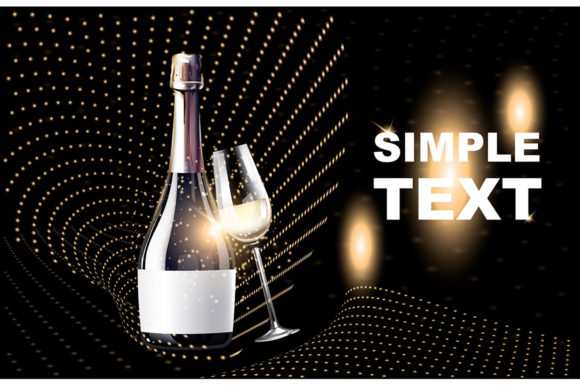
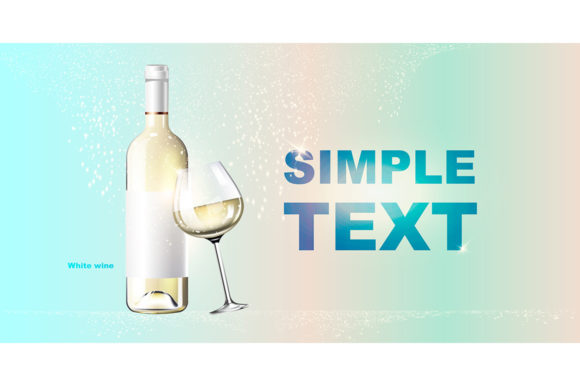
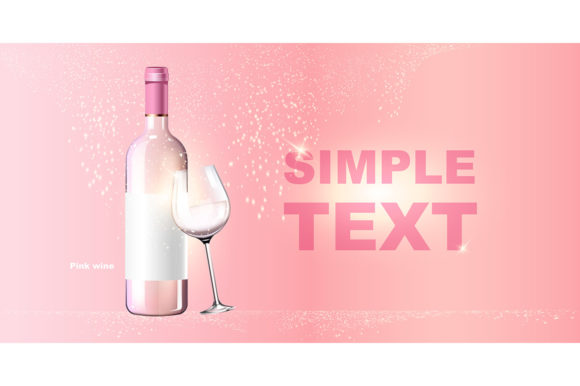
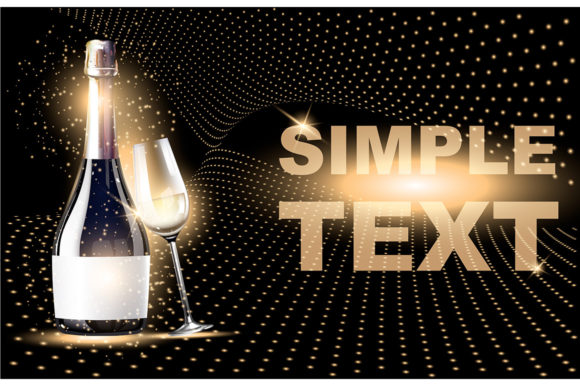
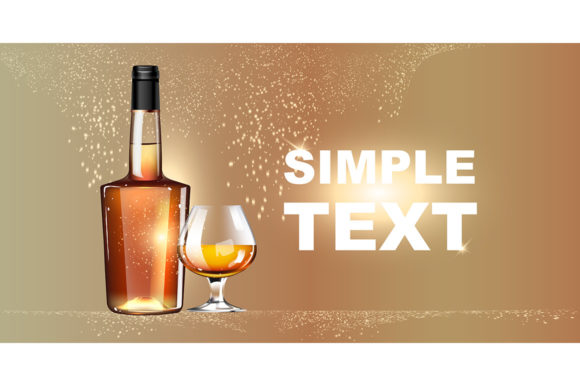
This specific asset, featuring a cognac bottle in a tall glass container paired with a goblet, offers a sophisticated 3D mock-up aesthetic that translates seamlessly into horizontal printable flyers and brochures. However, simply downloading a template does not guarantee success. Many creators, from small business owners to professional marketers, make critical errors when integrating these assets into their campaigns. Understanding the nuances of this design file can save you time, money, and reputation.
The Pitfalls of Generic Design Choices
One of the most common mistakes observed in alcohol advertising is the reliance on flat, two-dimensional imagery for premium products. Consumers today expect depth and texture. They want to see the condensation on the glass, the rich amber hue of the liquid, and the play of light on the label. When a designer opts for a simple illustration or a low-resolution photo instead of a high-fidelity vector mock-up like the Premium Whiskey Realistic Vector Product, the brand immediately loses credibility.
Another frequent error involves the misuse of text space. In many poorly designed flyers, the typography clashes with the product image, or there is insufficient room for essential legal disclaimers and brand storytelling. A high-quality template should provide balanced negative space that guides the viewer's eye naturally toward the call to action without overwhelming the product itself. If your brochure looks cluttered, the message gets lost, and the potential customer moves on to a competitor who presents their offer more clearly.
Why Format Matters More Than You Think
Choosing the right file format is a technical decision that has real-world consequences. Some users assume that a JPG is sufficient for all purposes, but this leads to pixelation when printed at large scales. Conversely, using a rasterized version of a vector graphic defeats the purpose of scalability. This is where the inclusion of multiple formats—EPS, JPG, PNG, SVG, and AI—in a single ZIP package becomes invaluable.
If you are preparing a large-format banner for a trade show, you need the vector-based EPS or AI files to ensure crisp edges regardless of the print size. For web banners or social media posts, the optimized JPG and PNG versions will load faster while maintaining visual integrity. Failing to utilize the correct file type for the medium can result in blurry logos, jagged text lines, and a final product that looks unprofessional. Always verify which format serves your specific output channel before you begin editing.
Navigating the Editing Process Correctly
Even with the best template, the user's approach to customization can make or break the final result. A common misconception is that one can simply swap out the bottle image and leave everything else as is. While the template is designed for flexibility, altering the lighting, shadows, or perspective incorrectly can create a jarring "cut-and-paste" effect. The 3D mock-up relies on realistic lighting interactions between the bottle, the goblet, and the background. If your new label design does not account for the existing shadows and reflections, the product will look like it is floating rather than resting on the surface.
To avoid this, start by understanding the layer structure of the source file. Professional software like Adobe Illustrator or Photoshop allows you to isolate specific elements. Before applying your own branding, spend time analyzing how the original artist handled the highlights on the glass. When placing your custom label, ensure that the curvature of the bottle is respected. A flat label on a curved surface looks fake. Use the warp or transform tools available in your design software to match the geometry of the bottle perfectly.
Color Accuracy and Brand Consistency
Another area where professionals often stumble is color management. The deep golds and ambers of whiskey require precise color representation to convey warmth and richness. If you are printing a brochure, relying on RGB color profiles (standard for screens) can lead to dull, muddy colors in the final print. Always convert your project to CMYK mode if you intend to produce physical materials. Check the white balance of your label against the warm tones of the glass to ensure they complement each other rather than competing.
For digital ads, the opposite is true. Ensure your images are saved in sRGB to maintain vibrancy on monitors and mobile devices. Ignoring these color profile settings can result in a campaign that looks stunning on your screen but disappointing in the hands of a customer or on a billboard.
Evaluating the Value of the Asset
When evaluating a Premium Whiskey Realistic Vector Product, look beyond the initial visual appeal. Consider the versatility of the design. Does the template allow for different bottle shapes or sizes? Can you easily adjust the angle of the goblet? A truly useful asset provides the freedom to adapt to various marketing needs without requiring a complete redesign. The presence of editable layers in the AI and EPS files is a strong indicator of quality, allowing for granular control over every element of the composition.
Furthermore, consider the target demographic. Adults aged 20–50 range from casual drinkers to connoisseurs. Your design must strike a balance between modern appeal and traditional elegance. Avoid overly trendy fonts or neon colors that might clash with the classic nature of whiskey. Instead, opt for serif fonts and muted, earthy tones that suggest sophistication and age. The goal is to make the consumer feel that they are part of an exclusive experience.
Practical Steps for Implementation
To ensure you get the most out of this design resource, follow a structured workflow. First, download the ZIP file and organize your folders immediately. Separate the raw assets from your working files to prevent accidental overwrites. Second, open the AI or EPS file in your preferred vector software to check for any missing fonts or linked images. Third, test your design in both print and digital formats before finalizing. Print a small proof copy to check for color accuracy and resolution issues.
Finally, gather feedback. Show your draft to a colleague or a focus group. Ask them what they notice first. Is it the product? The text? The overall mood? Their answers will tell you if your design effectively communicates the premium nature of the whiskey. If the text is hard to read or the bottle looks distorted, go back to the drawing board. It is always better to fix these issues now than after the campaign has launched.
By avoiding these common pitfalls and respecting the technical requirements of the Premium Whiskey Realistic Vector Product, you can create advertisements that not only capture attention but also build trust. Whether you are a freelancer pitching a new client or a small business owner launching a local brand, the quality of your visual presentation speaks volumes about your professionalism. Take the time to master the tool, and let your creativity shine through the clarity of the design.